SFTP Integration using 200 OK
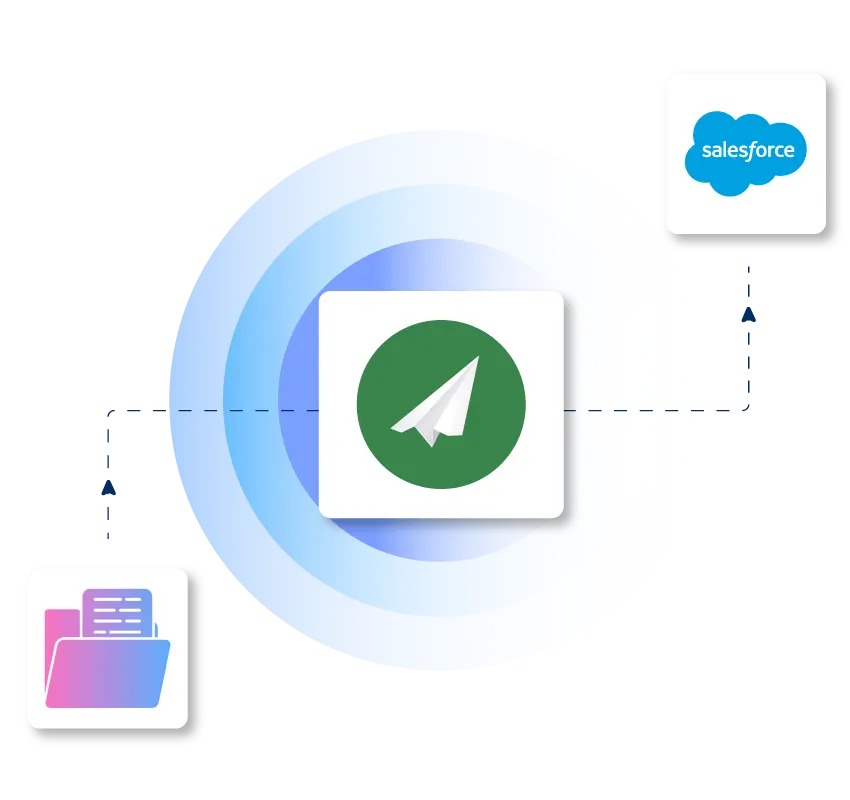
Effortlessly synchronize data between SFTP and Salesforce with 200 OK—no coding required.
Explore limitless possibilities with our support for 2000+ apps.

Effortlessly synchronize data between SFTP and Salesforce with 200 OK—no coding required.
Explore limitless possibilities with our support for 2000+ apps.

Effortlessly synchronize data between SFTP and Salesforce with 200 OK—no coding required.
Explore limitless possibilities with our support for 2000+ apps.
Setup Your SFTP integration process in just “ 15 minutes”
Setup your SFTP and Salesforce integration process in just “ 17 minutes”

Launch 200 OK App & initiate template creation

In the template setup, enter name, type, and provider
In the sample template document, the data for the "Name" and "Closed date" fields will dynamically retrieved from the opportunity record

Click on upload files to upload your template & click onNEXT to trigger an API Callout simultaneously

Go to the Opportunity field and click on the Generate Document button

Choose the template from the custom template field

Click next to merge the selected template with the data and finish the process

Now preview the content by clicking on the attached document

On the last page get your sign field with the merged opportunity name & date

Access 200 OK App and navigate to the SFTP integration section.

Create a named credential, providing essential details for secure SFTP connectivity.

Design specific channels integration pipelines for distinct use-cases, tailoring the SFTP connection to your unique requirements.

Utilize the powerful built-in function, fx_convertToCSV (SOQL), to effortlessly create a CSV file from any object in your Salesforce instance.

Define the target path and filename for your CSV file, ensuring precise organization and naming conventions.

Configure the SFTP server details where the CSV file will be generated, establishing a secure and seamless data exchange.

Click the "Send" button to initiate a test of the integration scenario, ensuring smooth data transmission between Salesforce and SFTP.

Once tested successfully, schedule the scenario with a flow to automate the entire process.


Here are our popular other e-sign integration possibilities
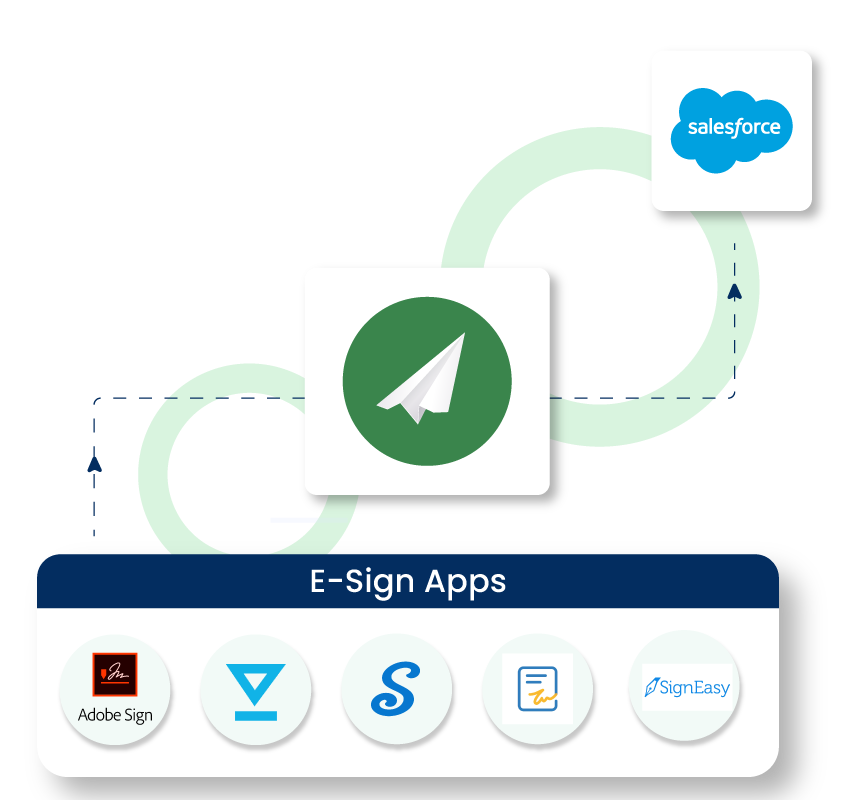
Adobe Sign, Zoho Sign, Conga Sign, HelloSign, SignNow, SignEasy
Forge Seamless Connections as 200 OK Links to a Spectrum of Apps and 3rd Party Tools


Forge Seamless Connections as 200 OK Links to a Spectrum of Apps and 3rd Party Tools


Launch 200 OK App & initiate template creation

In the template setup, enter name, type, and provider
In the sample template document, the data for the "Name" and "Closed date" fields will dynamically retrieved from the opportunity record

Click on upload files to upload your template & click onNEXT to trigger an API Callout simultaneously
Explore our package & discover the efficiency of 200 OK

200 OK is a Salesforce native integration platform specifically designed for developers, architects admins, and smart business people to connect Salesforce with any external cloud-based solutions and APIs without coding.
200 OK thoughtfully designed by Salesforce Architects with ❤️
For more info, please get in touch with us at contact@200ok.ai

Certificate Number 23853